环境信息
本教程将介绍在 macOS 和 Windows 环境下部署本地大模型服务。如无特殊说明,macOS 系统下需在终端中执行命令,Windows 系统下需要在 PowerShell 中执行命令。
| 软件 | 版本 |
|---|---|
| ollama | 0.20.2 |
| LM Studio | 0.4.9+1 |
| vllm | 0.19.0 |
| vllm-metal | v0.1.0-20260404-164341 |
| vllm-mlx | 0.2.7 |
| oMLX | 0.3.4 |
| 名称 | 架构 | 量化 | 内存 / 显存 | 能力 | 链接 |
|---|---|---|---|---|---|
| Qwen3.5-27B | 稠密 | 4bit | 32 GB 及以上 | :Safetensors / GGUF / GGUF / MLX :Safetensors / GGUF / GGUF / MLX |
|
| Qwen3.5-35B-A3B | MoE | 4bit | 32 GB 及以上 | :Safetensors / GGUF / GGUF / MLX :Safetensors / GGUF / GGUF / MLX |
|
| CoPaw-Flash-9B | 稠密 | 4bit | 16 GB 及以上 | :GGUF :GGUF |
|
| :视觉,:工具调用,:思考 :Hugging Face,:ModelScope |
|||||
为了加速从 Hugging Face 模型仓库下载模型,可以运行如下命令配置相关环境变量:
echo "HF_ENDPOINT=https://hf-mirror.com" >> ~/.bash_profile
[Environment]::SetEnvironmentVariable("HF_ENDPOINT", "https://hf-mirror.com", "User")
更多使用方式可参考 HF-Mirror 官方网站。
ollama
推荐在终端运行如下命令安装 ollama:
curl -fsSL https://ollama.com/install.sh | sh
irm https://ollama.com/install.ps1 | iex
运行如下命令可以显示当前安装的版本号:
ollama --version
# ollama version is 0.20.2
ollama 当前采用 ollama pull MODEL 命令下载模型,除了使用官方模型库中的模型名称外(例如:qwen3.5:27b-nvfp4),还可以使用 Hugging Face 的模型链接(例如:https://huggingface.co/lmstudio-community/Qwen3.5-27B-GGUF),运行如下命令下载模型:
ollama pull qwen3.5:27b-nvfp4
ollama pull https://huggingface.co/lmstudio-community/Qwen3.5-27B-GGUF
ollama 当前仅支持通过环境变量配置监听地址和端口,运行如下命令进行配置:
echo "OLLAMA_HOST=0.0.0.0:11434" >> ~/.bash_profile
[Environment]::SetEnvironmentVariable("OLLAMA_HOST", "0.0.0.0:11434", "User")
运行如下命令启动模型服务:
ollama run <模型名称>
ollama run <模型名称>
提示
ollama 默认会选择最适合的运行库,如果需要切换可以手动指定 LLM 运行库,运行如下命令表示使用 CPU 进行推理:
OLLAMA_LLM_LIBRARY="cpu_avx2" ollama serve <模型名称>
注意
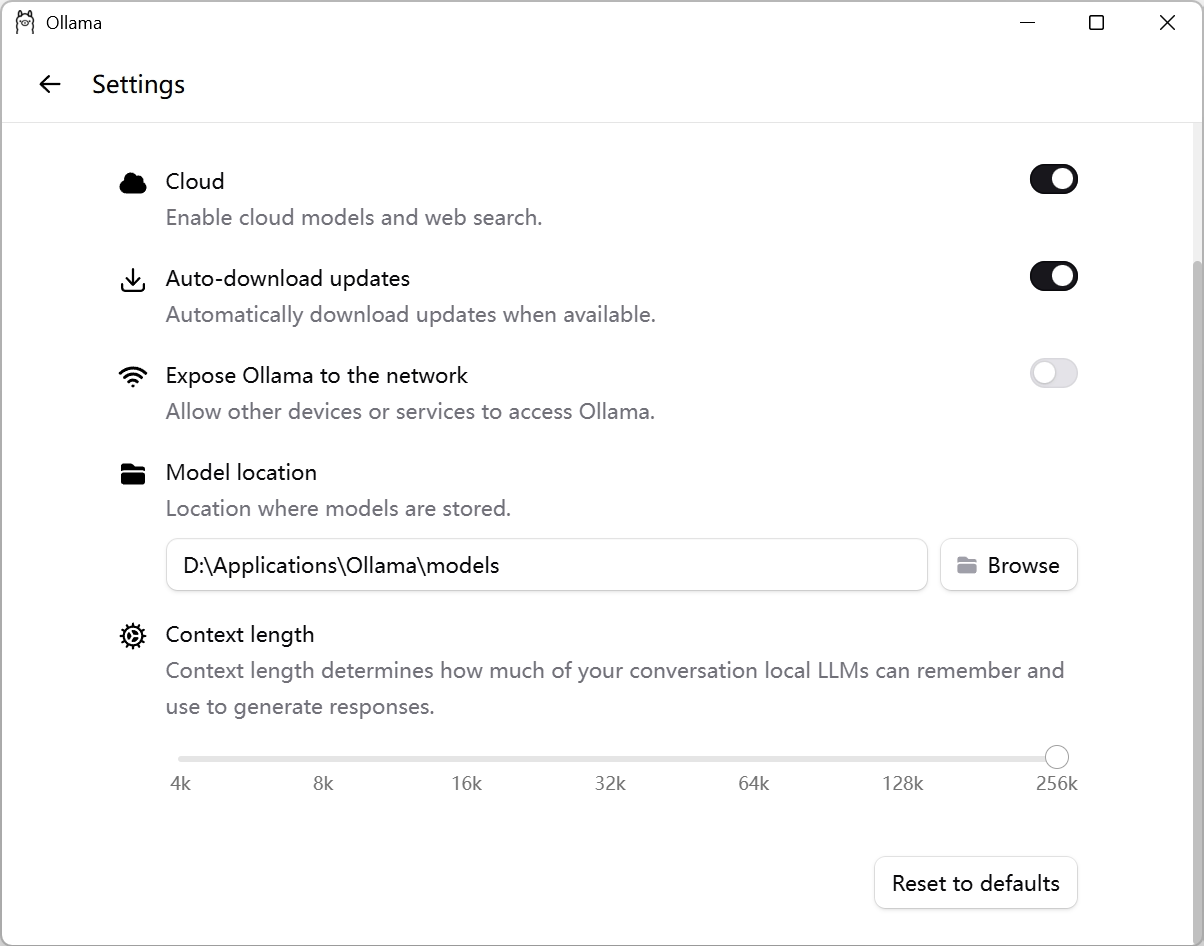
在 Settings 中将 Context length 设置为最大值,以确保在后续使用过程中不会因上下文长度不足而导致效果下降。

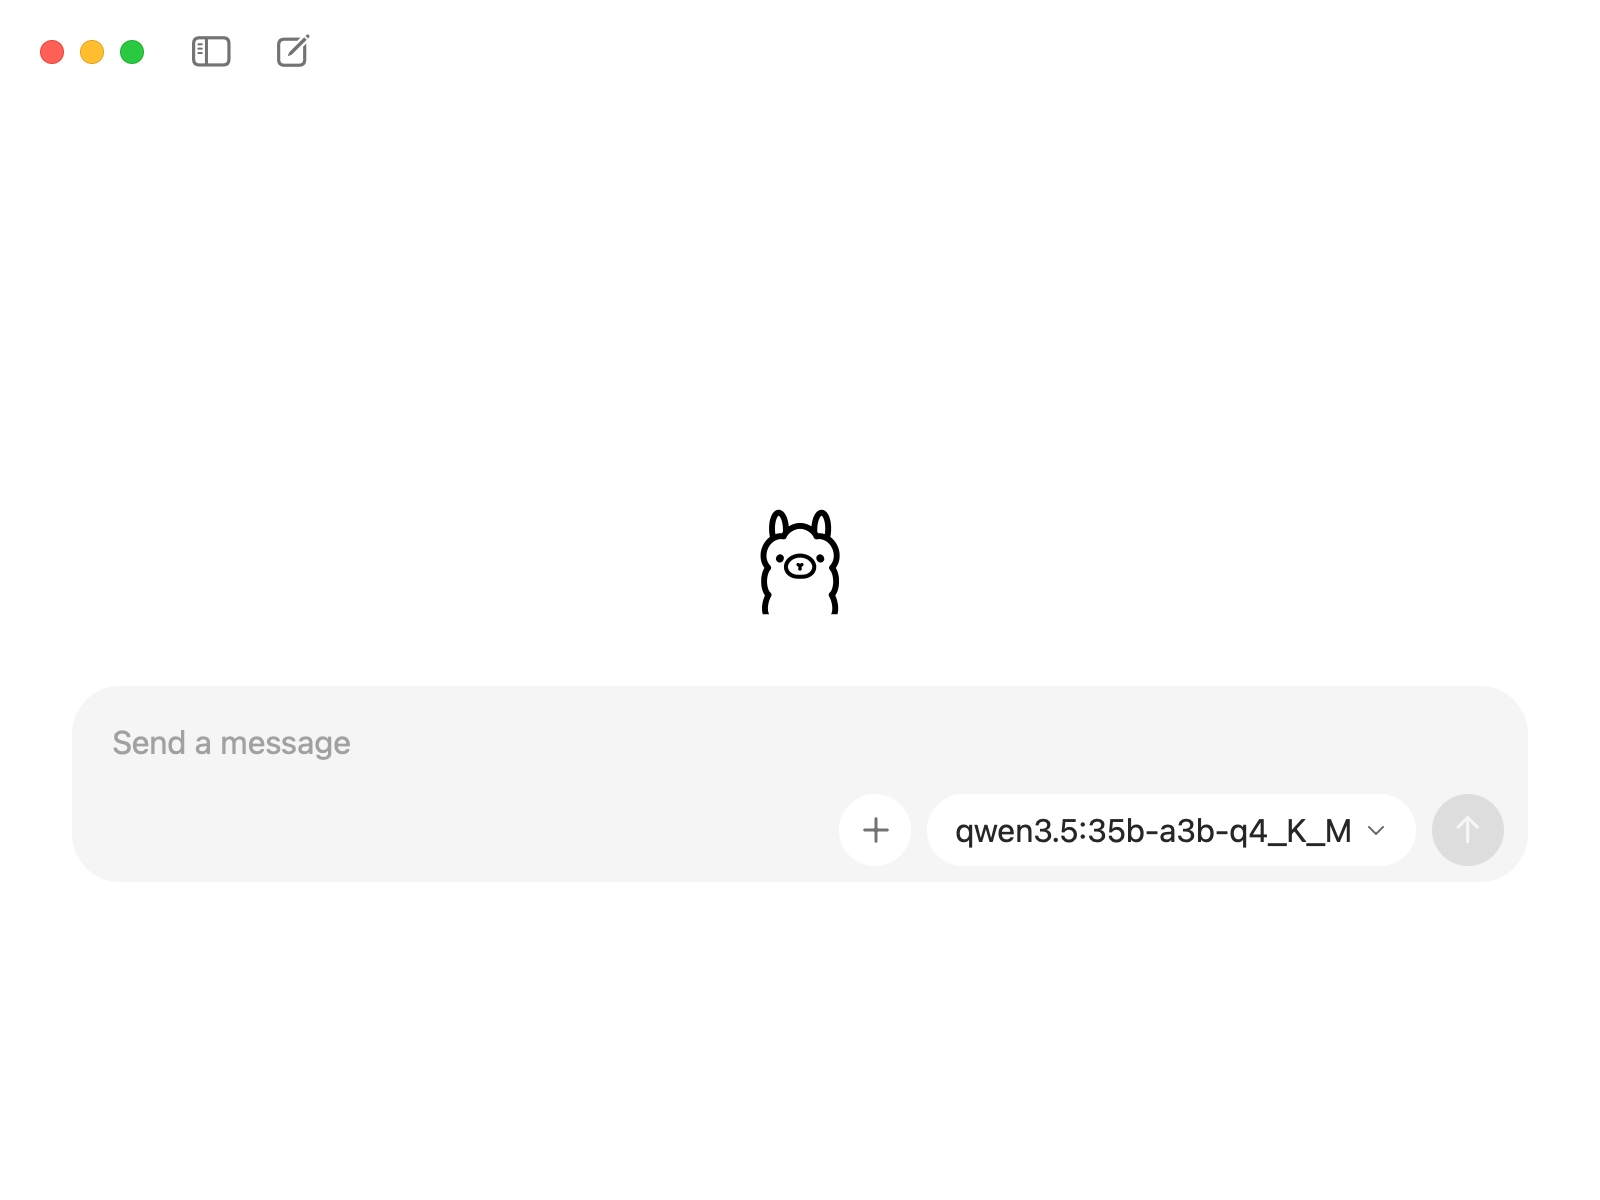
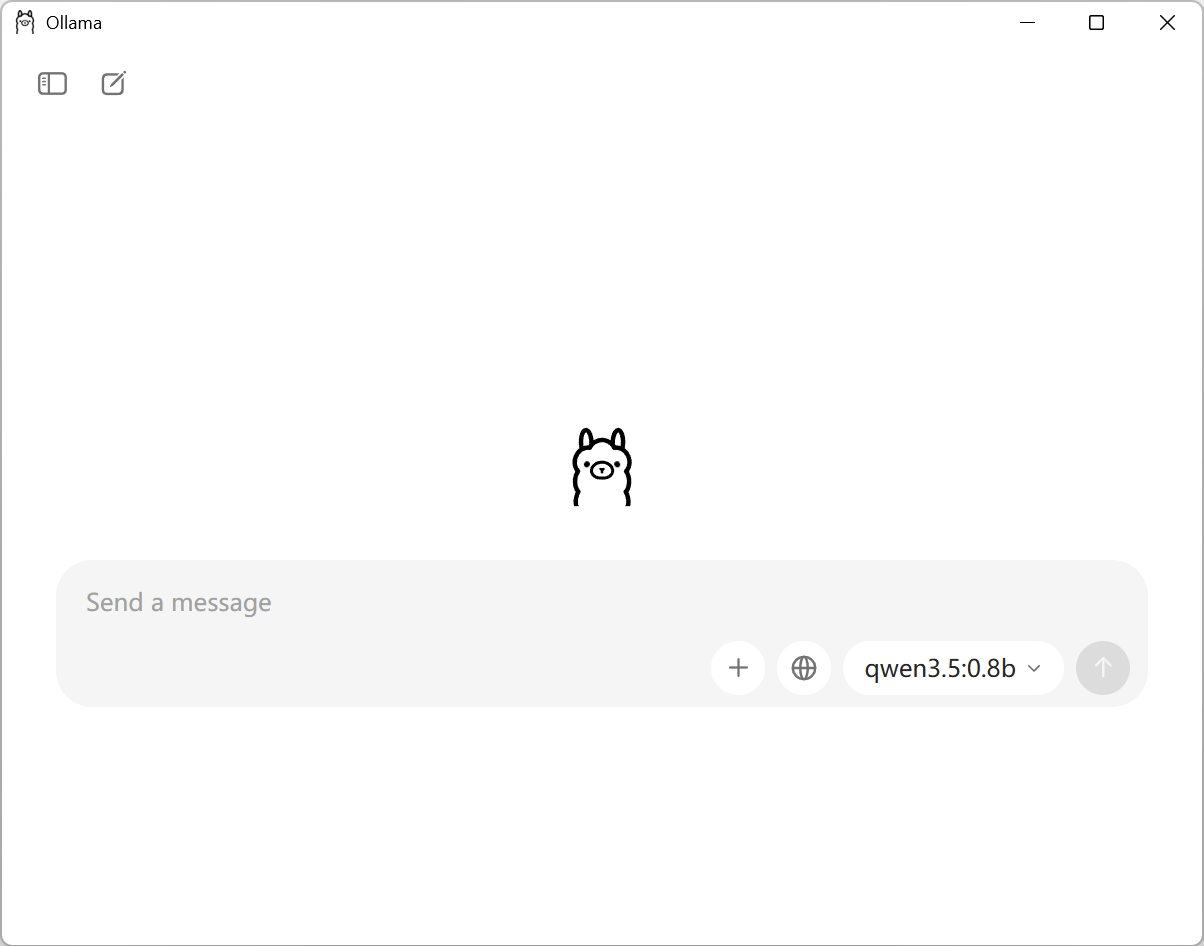
打开 ollama 主页面,选择对应的模型,即可开始对话:
模型服务运行在 http://127.0.0.1:11434,API 文档详见:https://docs.ollama.com/api/introduction。运行如下命令以 OpenAI 兼容的接口测试服务:
curl http://127.0.0.1:11434/v1/chat/completions \
    -H "Content-Type: application/json" \
    -d '{
        "model": "<模型名称>",
        "messages": [
            {
                "role": "user",
                "content": "你好"
            }
        ]
    }'
iwr -Uri http://127.0.0.1:11434/v1/chat/completions `
    -Method Post `
    -ContentType "application/json" `
    -Body '{
        "model": "<模型名称>",
        "messages": [
            {
                "role": "user",
                "content": "你好"
            }
        ]
    }'
LM Studio
建议 Windows 系统测试使用
推荐从 LM Studio 官网下载安装包,并运行安装 LM Studio。如果只需要安装 LM Studio 核心,不需要 GUI 界面,则可以在终端运行如下命令:
curl -fsSL https://lmstudio.ai/install.sh | bash
irm https://lmstudio.ai/install.ps1 | iex
下载并安装所需的 Runtime,macOS 系统支持 GGUF 和 MLX 两种格式,Windows 系统仅支持 GGUF 格式。


注意
在 Settings - Model Defaults 中将 Default Context Length 设置为 Model Maximum,以确保在后续使用过程中不会因上下文长度不足而导致效果下降。
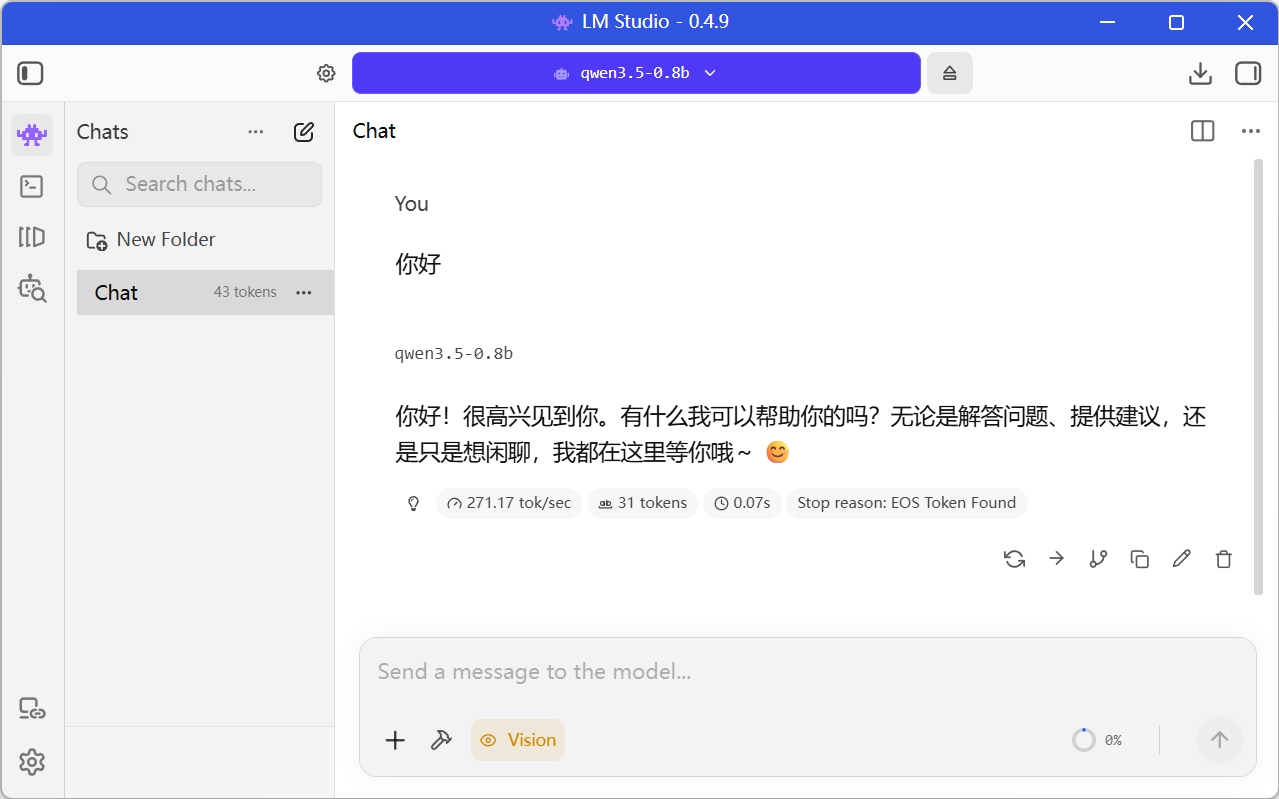
打开 LM Studio 主页面,选择对应的模型,即可开始对话:
单击左侧的 按钮,单击 Local Server,将 Status 滑动至 Running 状态。模型服务运行在 http://127.0.0.1:1234,API 文档详见:https://lmstudio.ai/docs/developer。运行如下命令以 OpenAI 兼容的接口测试服务:
curl http://127.0.0.1:1234/v1/chat/completions \
    -H "Content-Type: application/json" \
    -d '{
        "model": "<模型名称>",
        "messages": [
            {
                "role": "user",
                "content": "你好"
            }
        ]
    }'
iwr -Uri http://127.0.0.1:1234/v1/chat/completions `
    -Method Post `
    -ContentType "application/json" `
    -Body '{
        "model": "<模型名称>",
        "messages": [
            {
                "role": "user",
                "content": "你好"
            }
        ]
    }'
oMLX
建议 macOS 系统测试使用
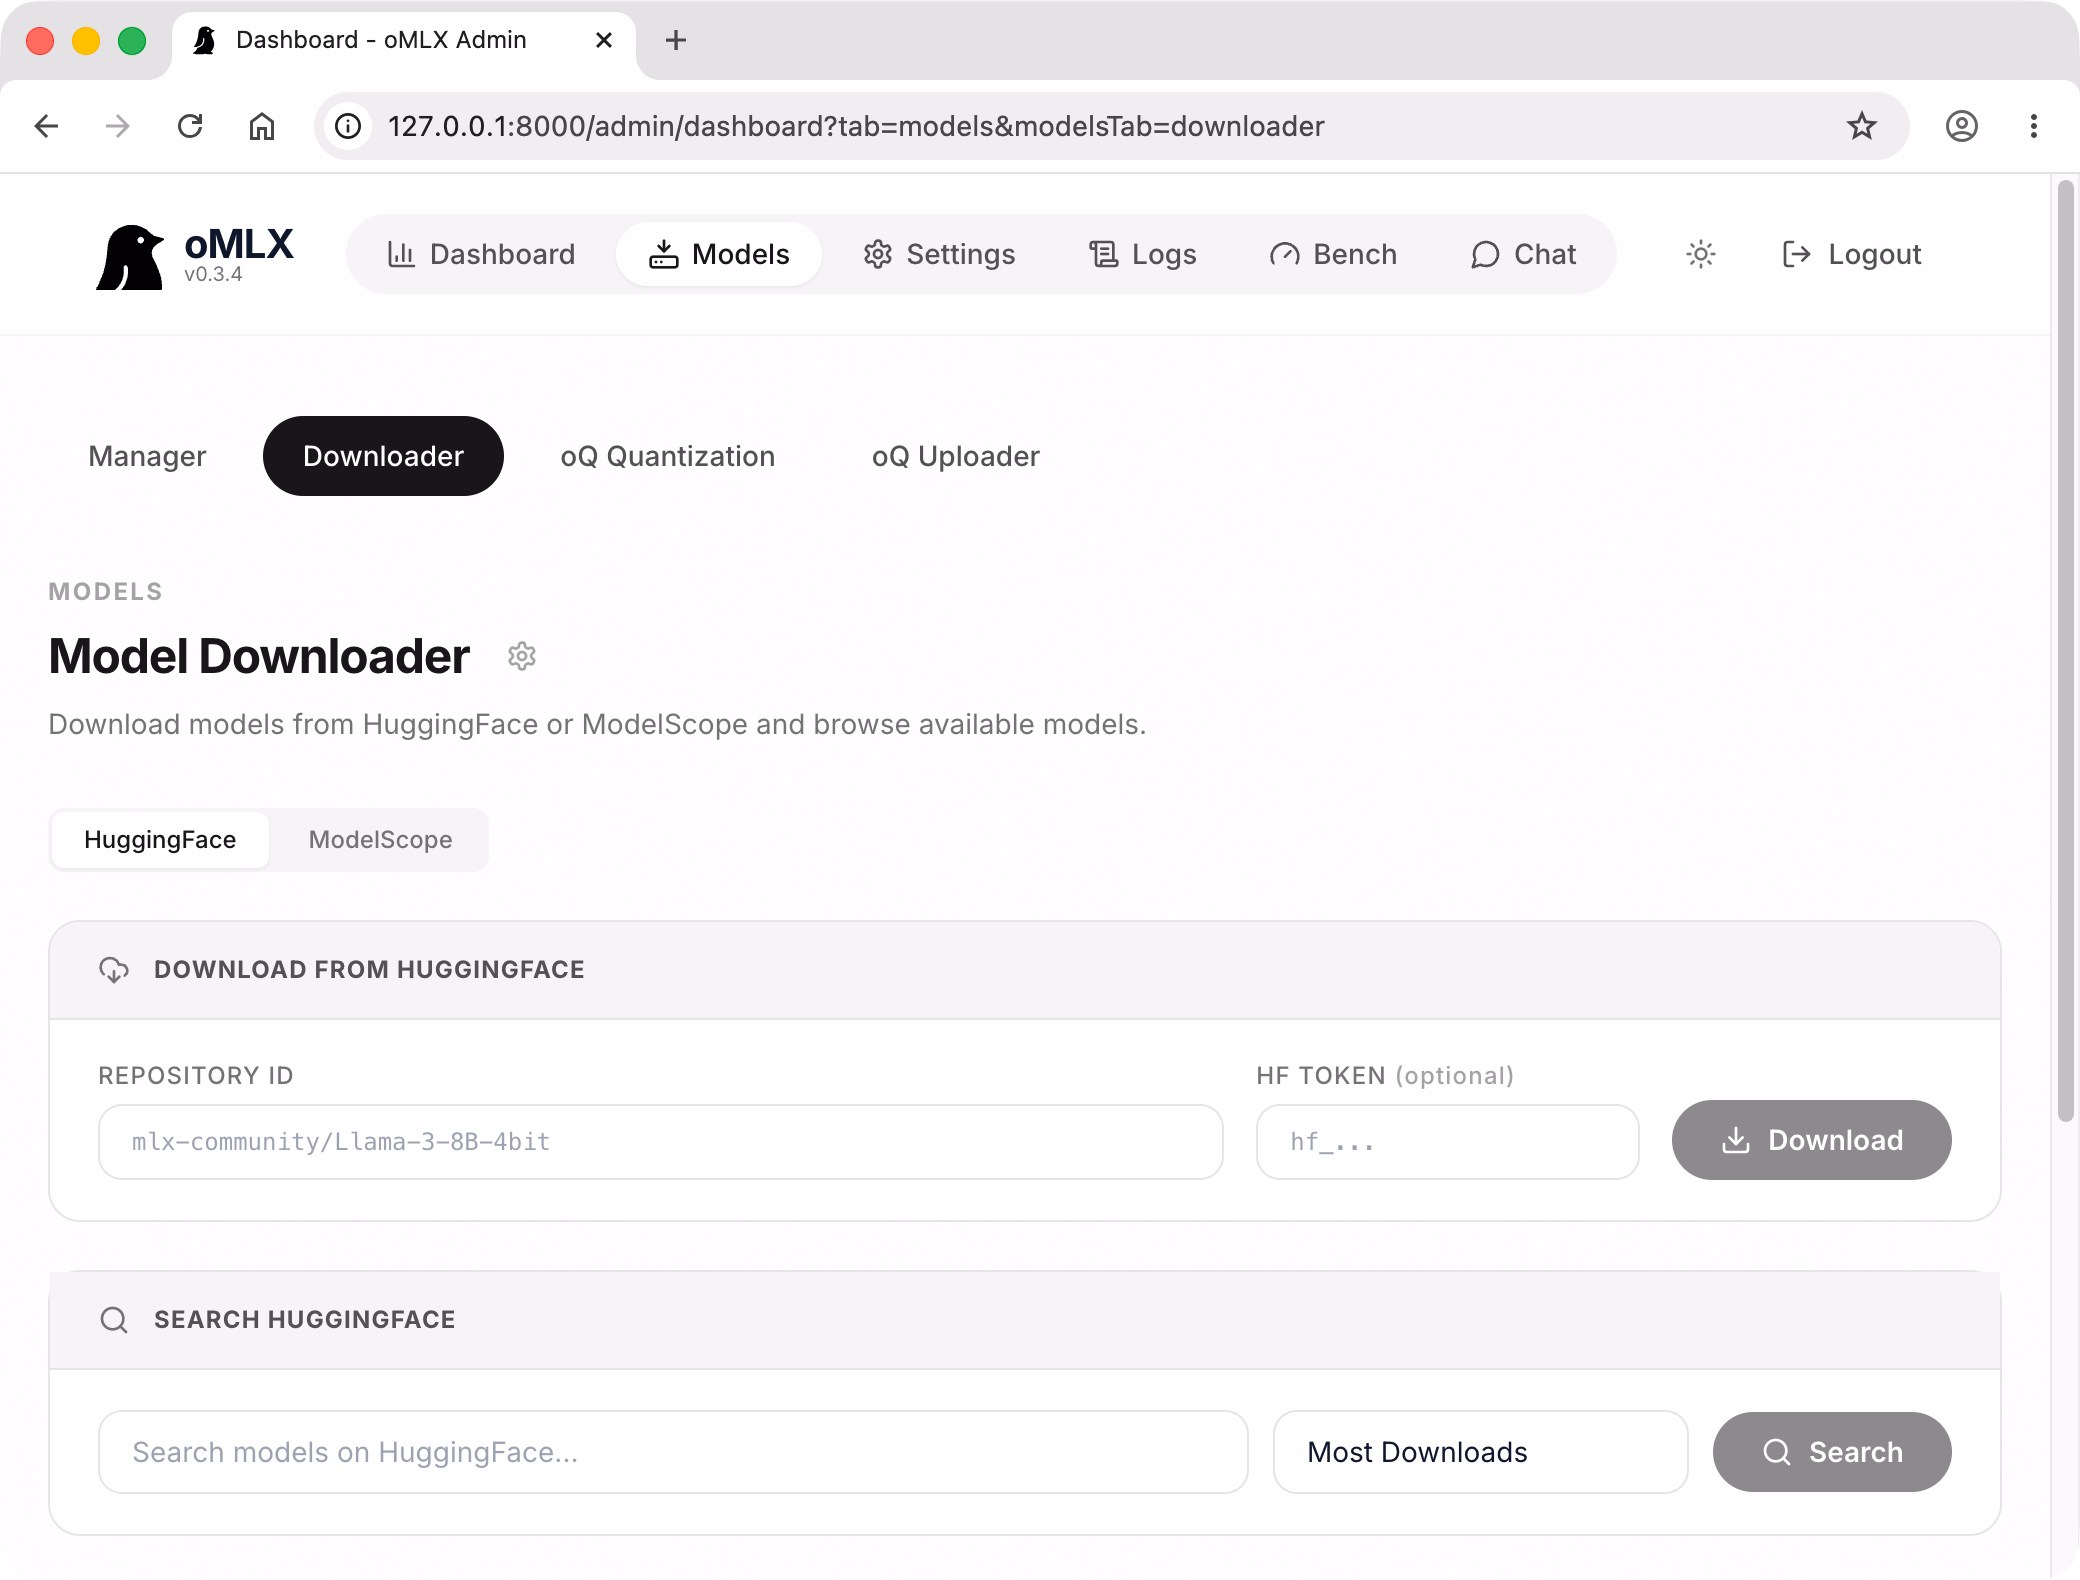
推荐从 oMLX 官网下载安装包,并运行安装 oMLX。安装完毕后启动,并从 macOS 菜单栏或 Windows 系统托盘单击 oMLX 图标,选择 Start Server 启动服务。待服务启动后,单击 Admin Panel 从浏览器打开管理面板,初次登录需要设置 API Key。在 Models - Downloader 中可以直接从 Hugging Face 和 ModelScope 模型仓库下载模型。
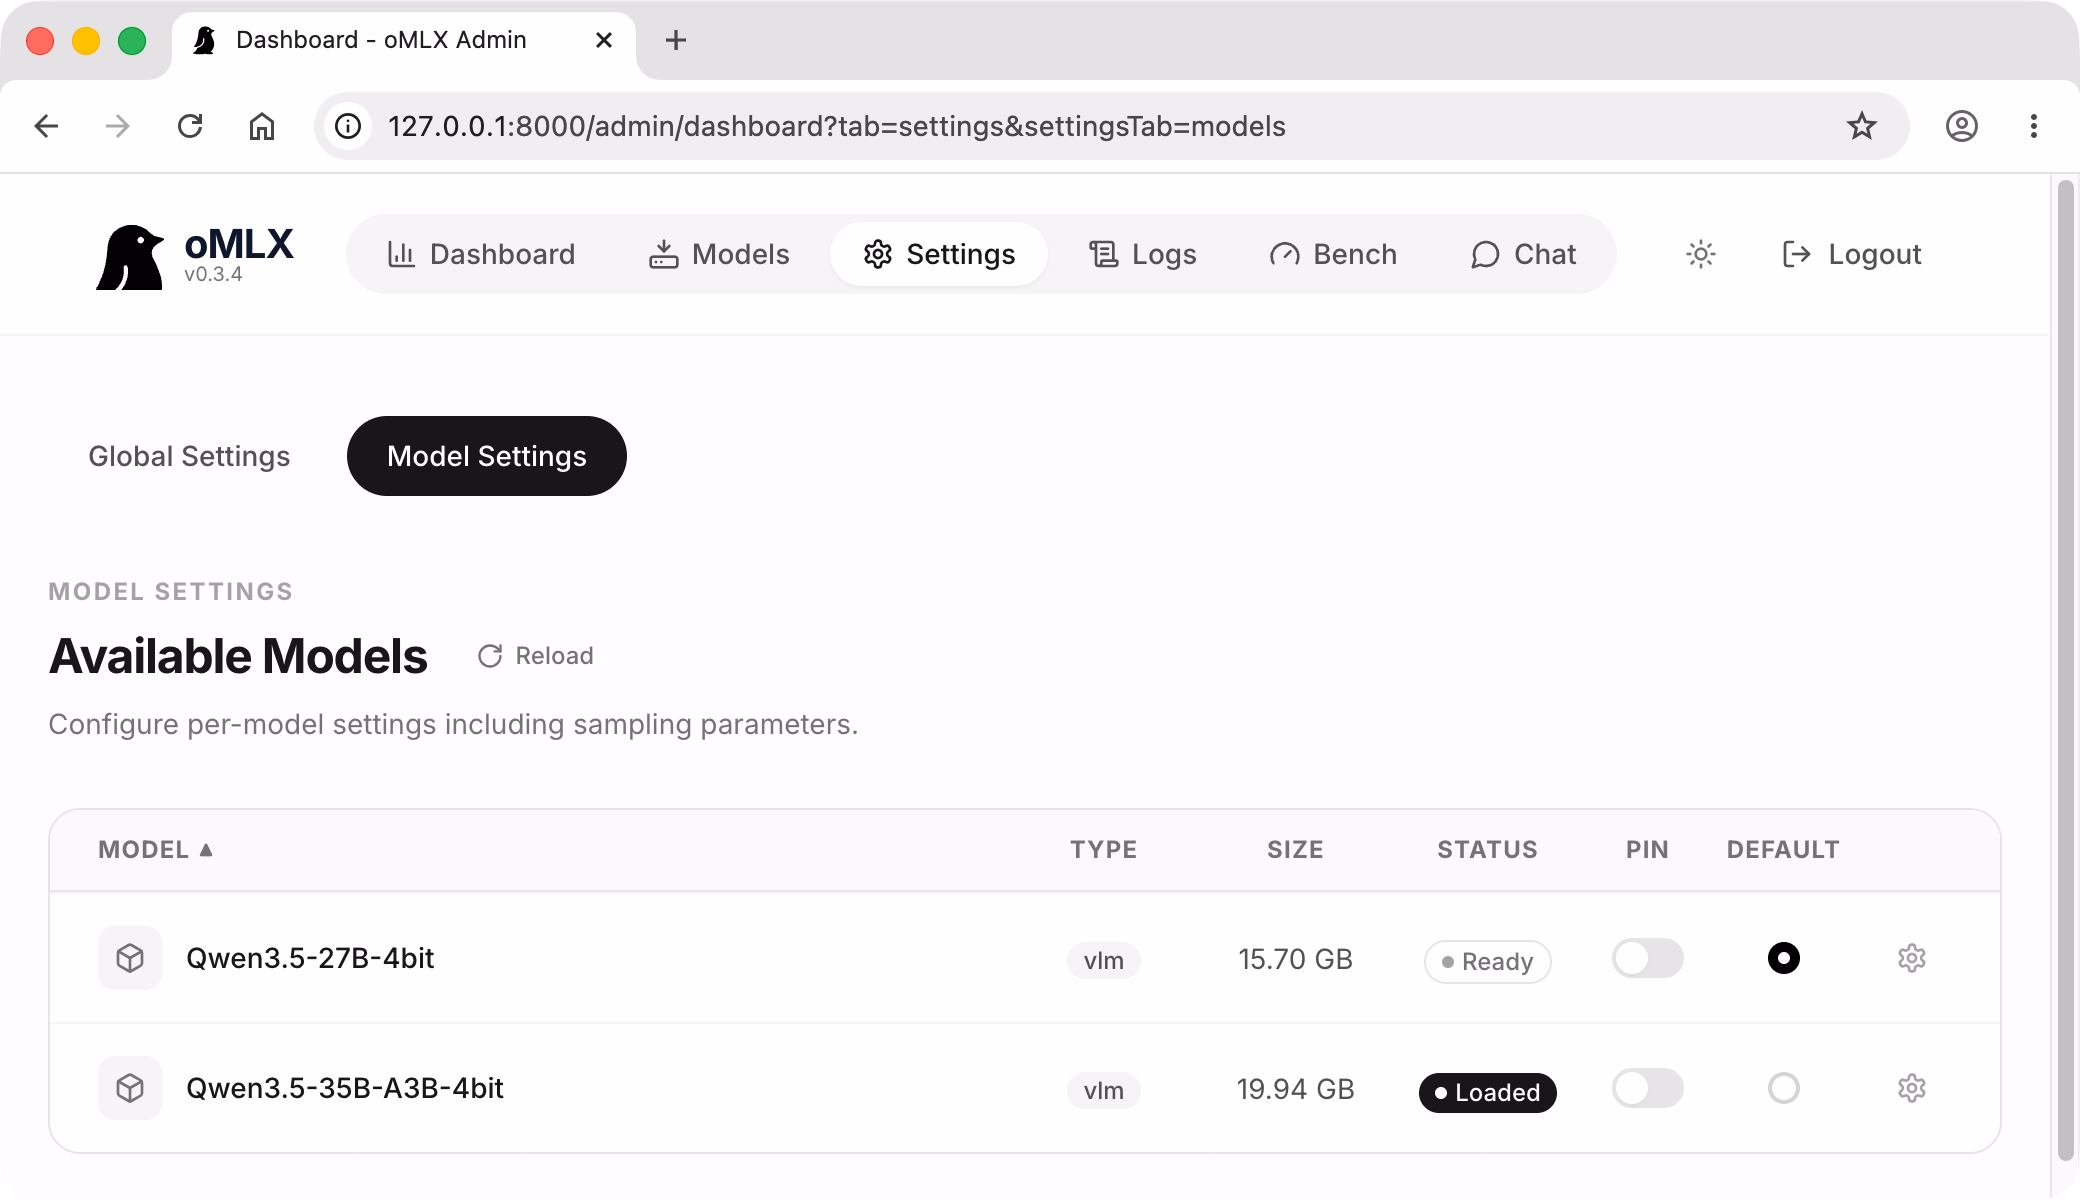
在 Settings - Model Settings 中单击对应模型 STATUS 中的按钮载入模型。
注意
在 Settings - Global Settings 中将 Max Context Window 和 Max Tokens 设置为合适的值,以确保在后续使用过程中不会因上下文长度不足而导致效果下降。
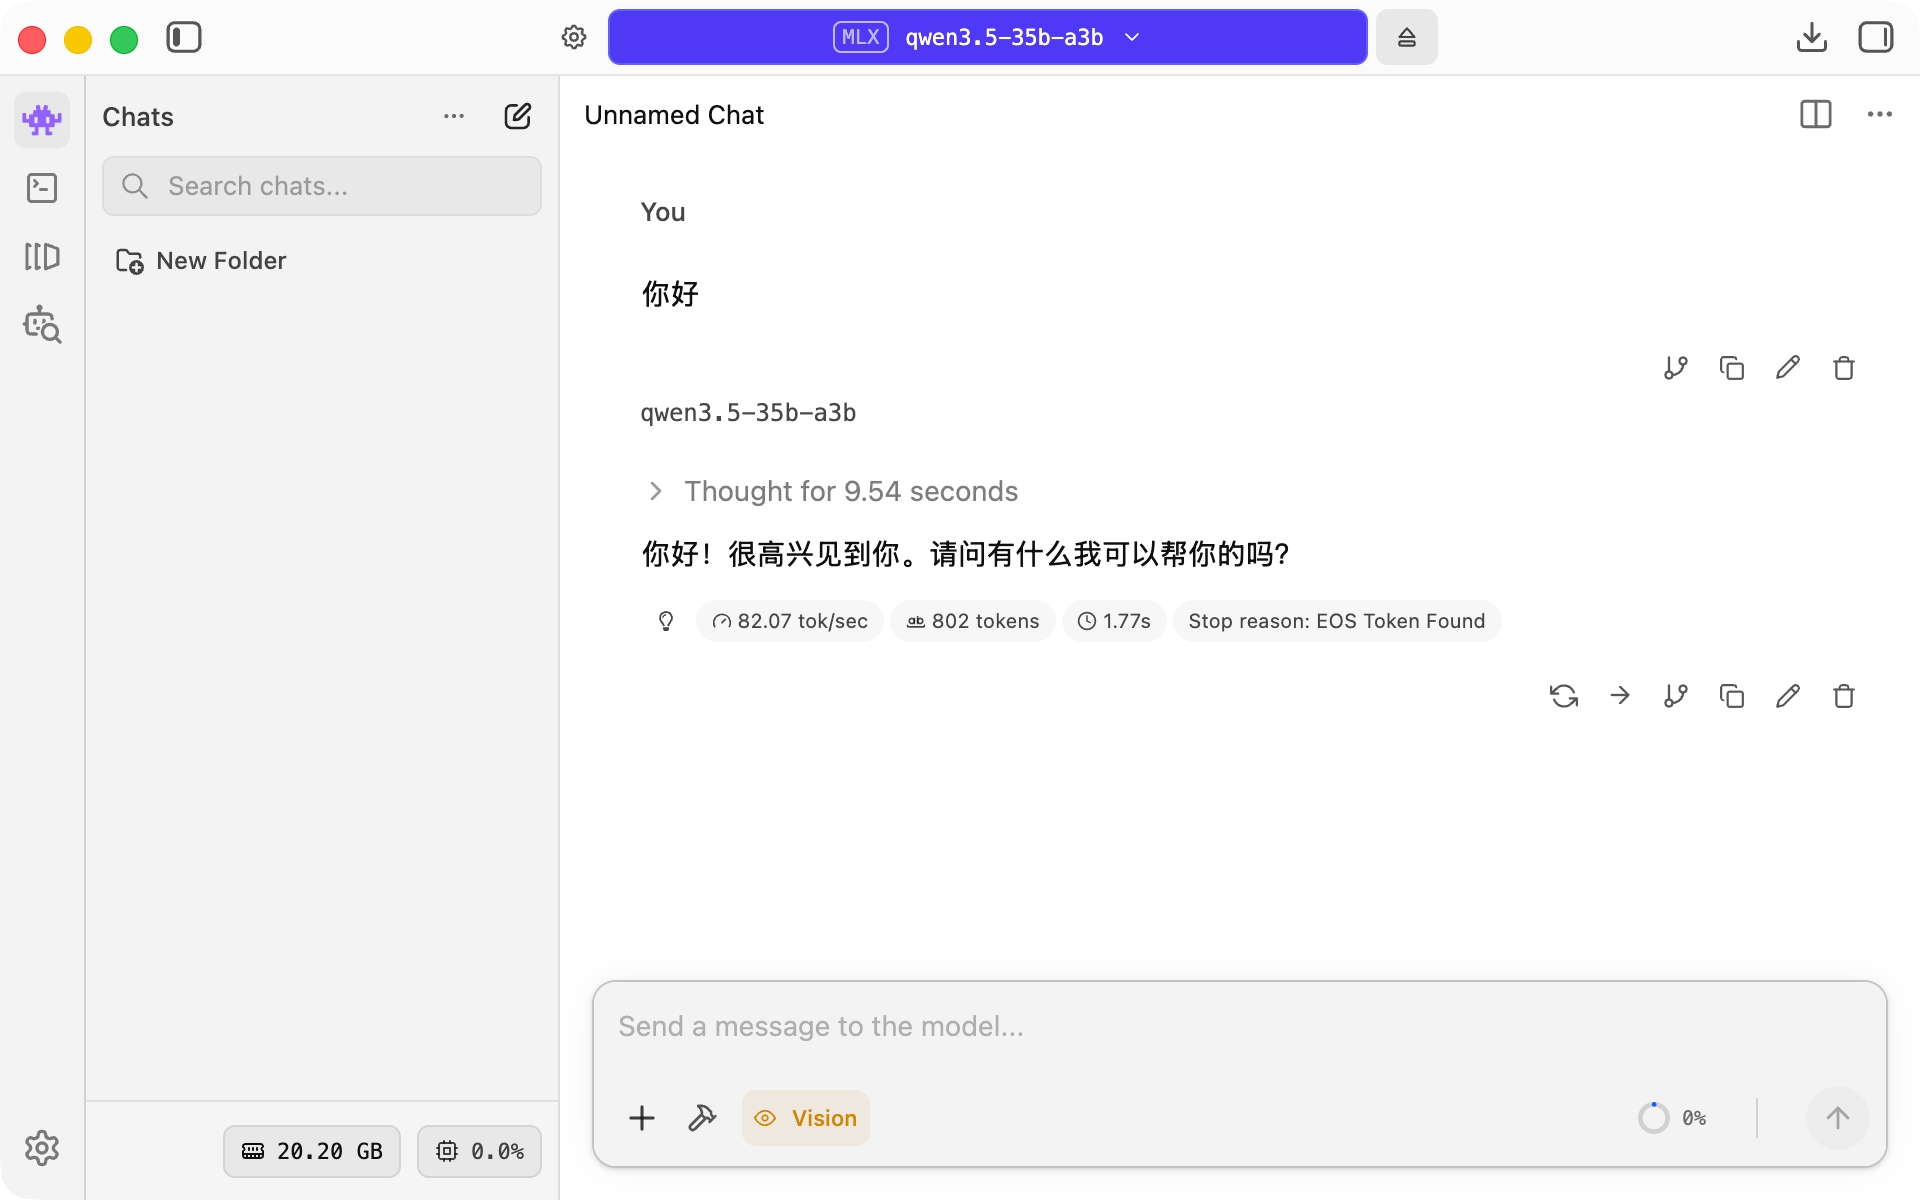
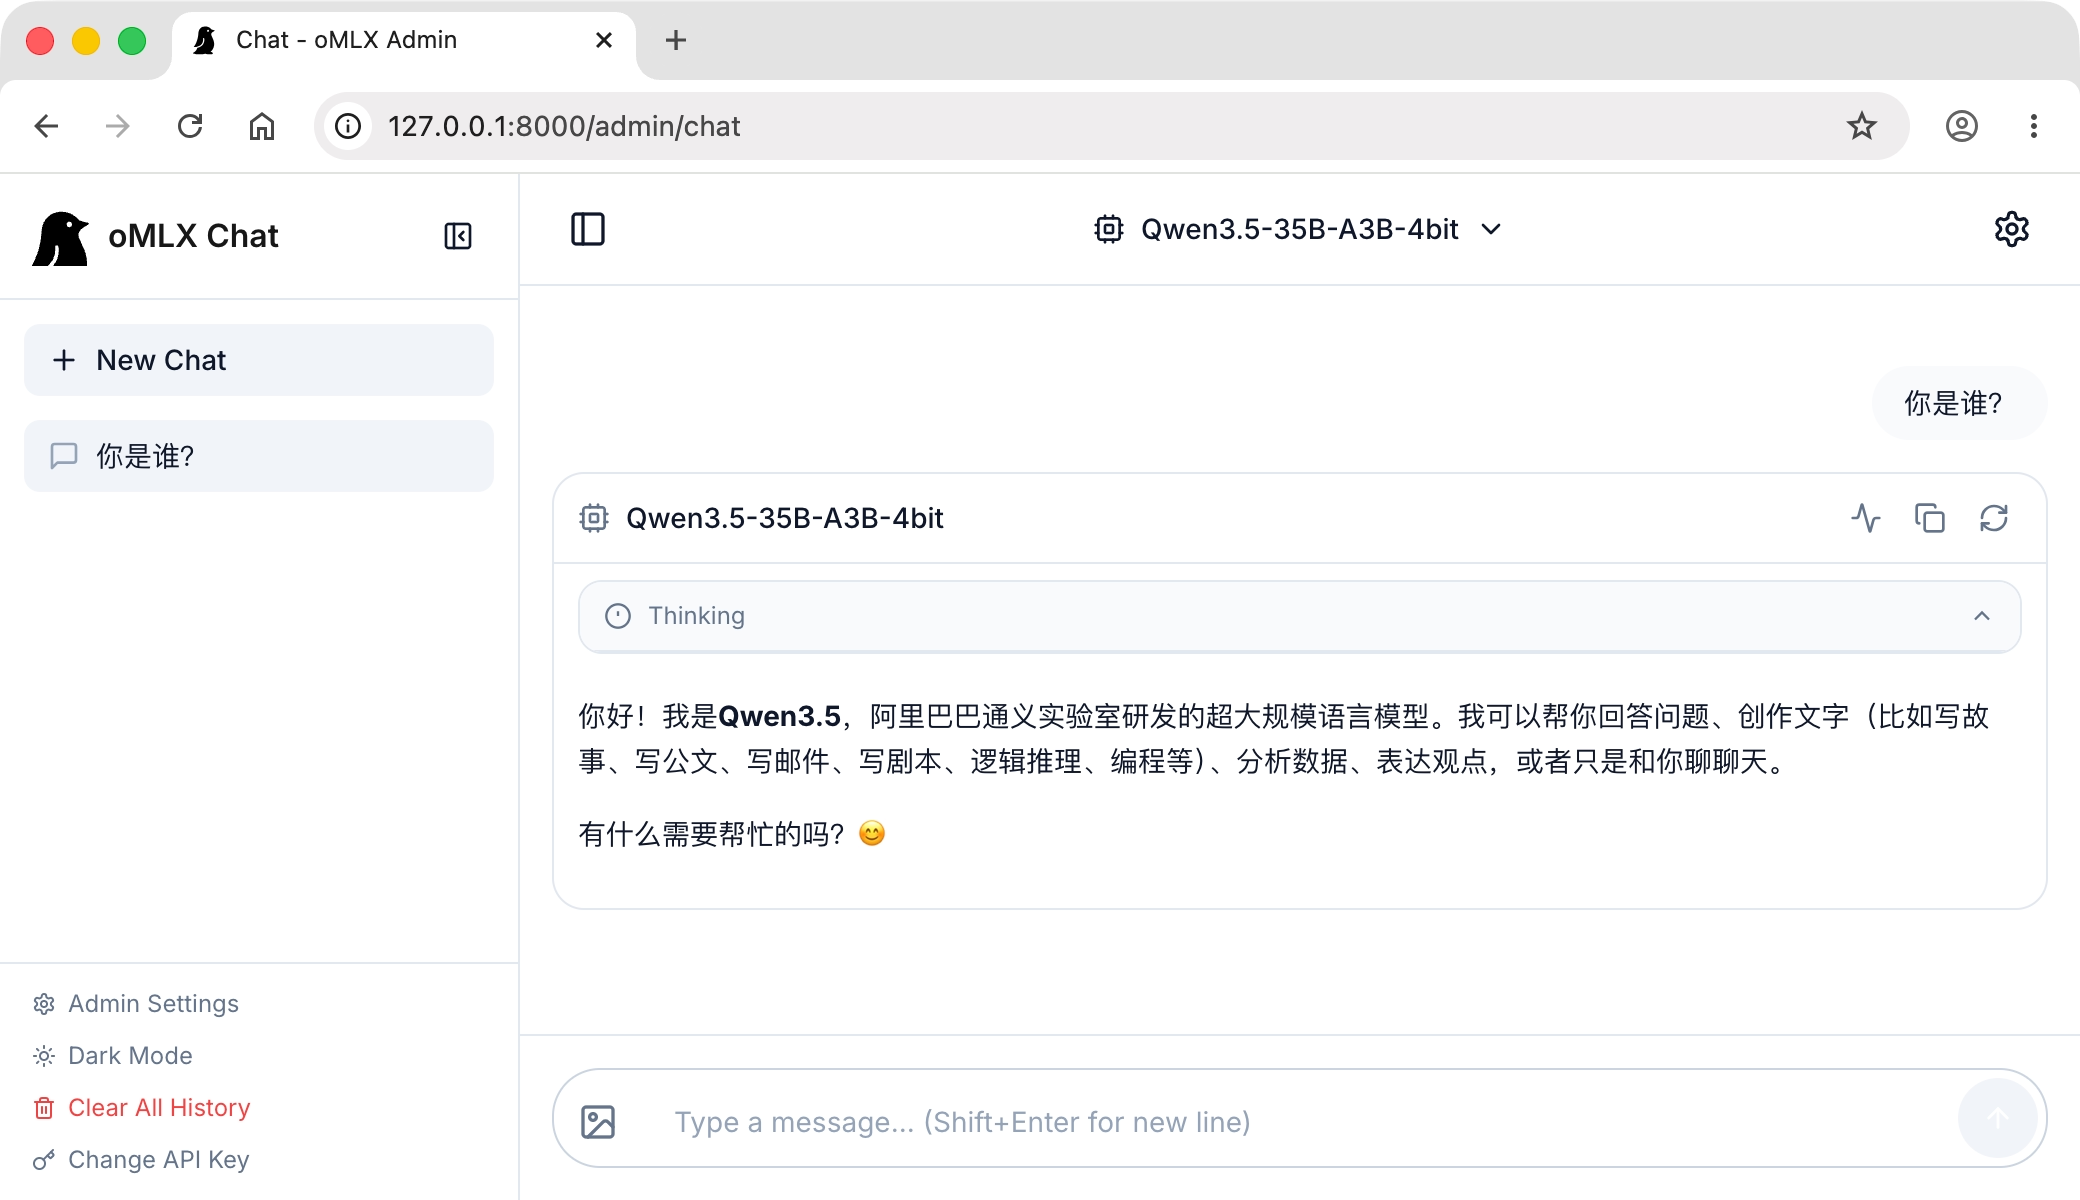
单击 Chat 进入对话页面,选择对应的模型,即可开始对话:
模型服务运行在 http://127.0.0.1:8000。运行如下命令以 OpenAI 兼容的接口测试服务:
curl http://127.0.0.1:8000/v1/chat/completions \
    -H "Authorization: Bearer <API_KEY>" \
    -H "Content-Type: application/json" \
    -d '{
        "model": "<模型名称>",
        "messages": [
            {
                "role": "user",
                "content": "你好"
            }
        ]
    }'
vllm
建议 macOS 系统生产使用
提示
vllm 官方仅支持 macOS 和 Linux 系统,暂无 GUI 界面。在此以 macOS 系统为例进行安装。
在 macOS 系统上,使用 vllm-metal 库安装 vllm 服务,运行如下命令:
curl -fsSL https://raw.githubusercontent.com/vllm-project/vllm-metal/main/install.sh | bash
这会在 ~/.venv-vllm-metal 路径下创建一个 Python 虚拟环境,并安装 vllm 服务。运行如下命令即可删除安装:
rm -rf ~/.venv-vllm-metal
运行如下命令激活 Python 虚拟环境:
source ~/.venv-vllm-metal/bin/activate
运行如下命令启动 vllm 服务:
vllm serve <模型名称|模型路径>
模型服务运行在 http://127.0.0.1:8000,更多环境变量设置请参考:https://github.com/vllm-project/vllm-metal,更多命令行参数设置请参考:https://docs.vllm.ai/en/stable/api/。运行如下命令以 OpenAI 兼容的接口测试服务:
curl http://127.0.0.1:8000/v1/chat/completions \
    -H "Content-Type: application/json" \
    -d '{
        "model": "<模型名称>",
        "messages": [
            {
                "role": "user",
                "content": "你好"
            }
        ]
    }'